ICS Import
Since the 1.7.3 version of the program, it is possible to import the events from remote calendars, such as Google Calendar, Apple iCal and Outlook.
The events will be extracted from an ICS URL provided by your remote calendar. Take a look at the related articles to see how you can find this ICS URL.
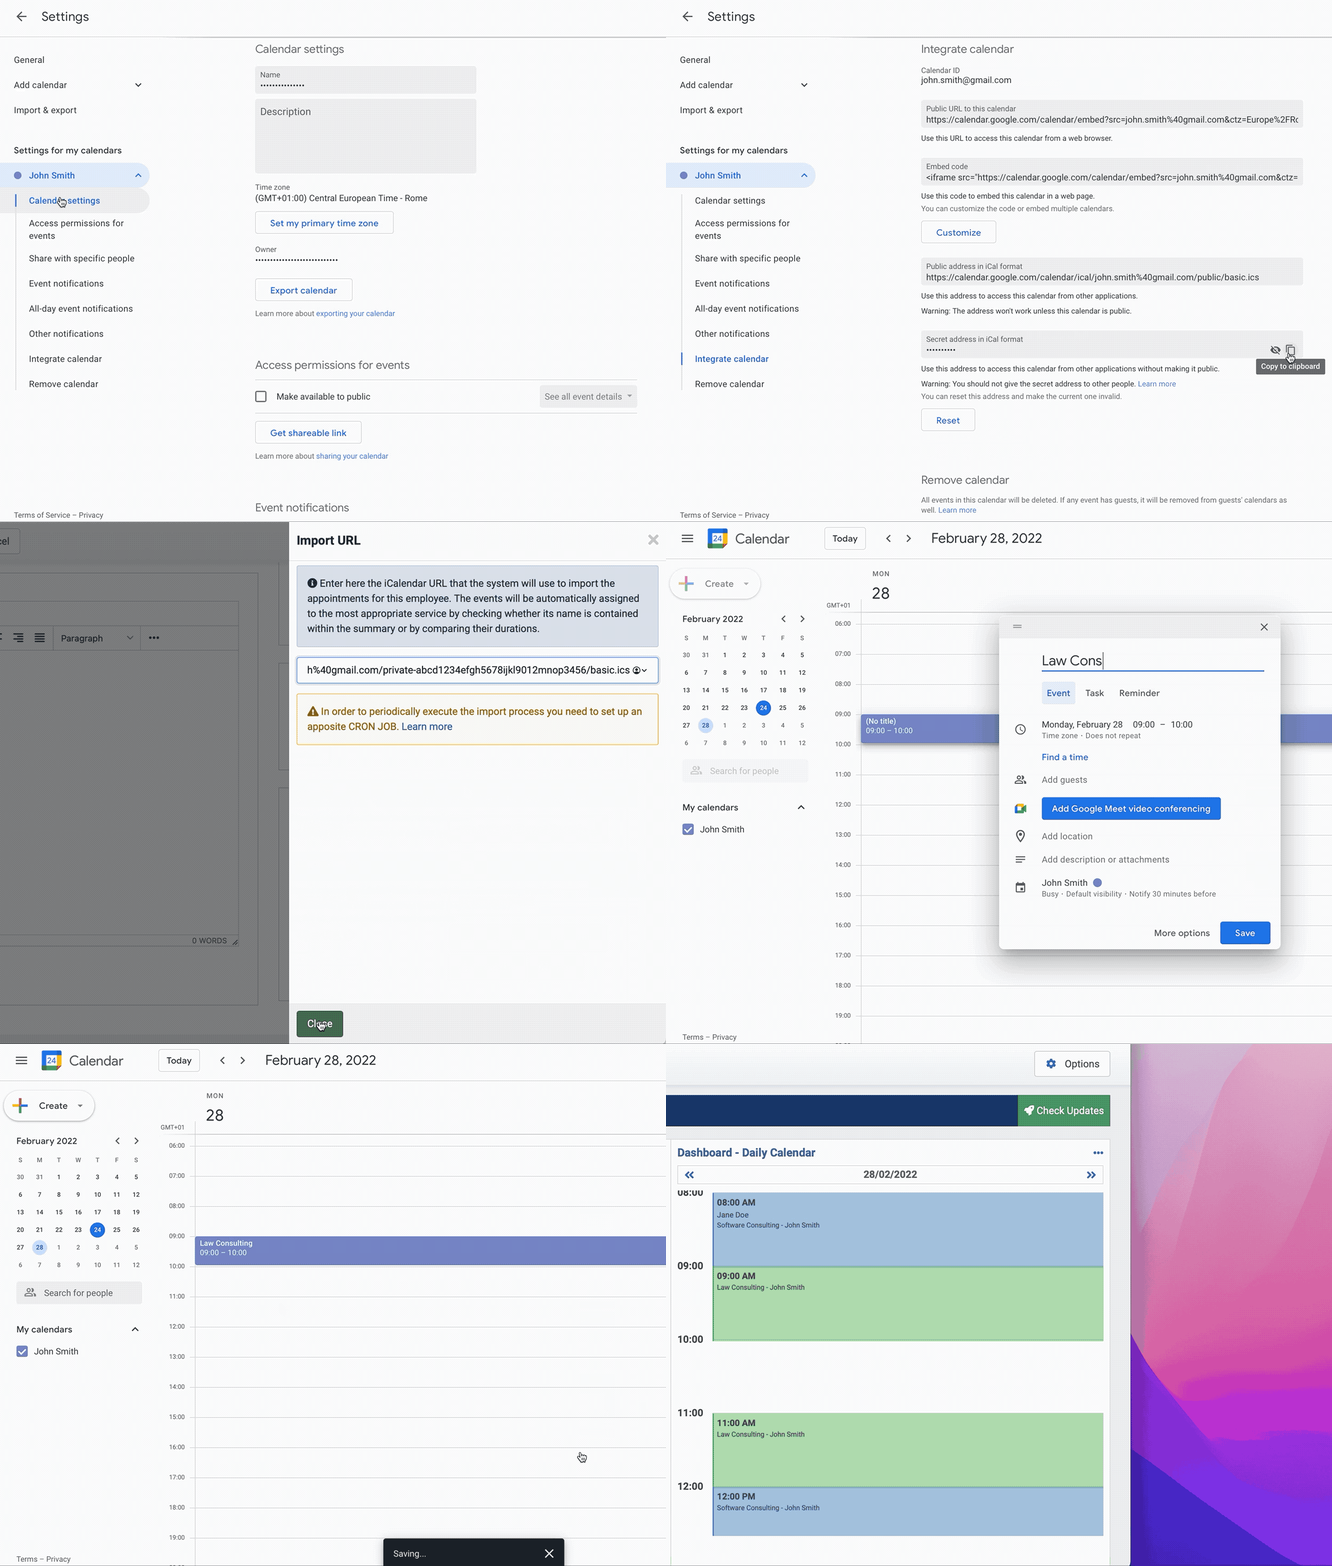
It is possible to configure the system in 2 different ways:
- a single calendar can be assigned to a single employee;
- a single calendar can be assigned to a specific service-employee relationship.
In the first case, the events of the calendar will be imported for the selected employee. The system will try to detect the best service to assign according to these criteria:
- checks whether the event summary matches a service name;
- searches for a service with the same duration of the event;
- takes the first available service.
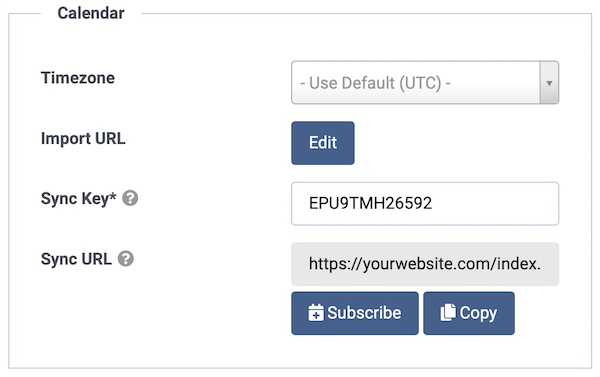
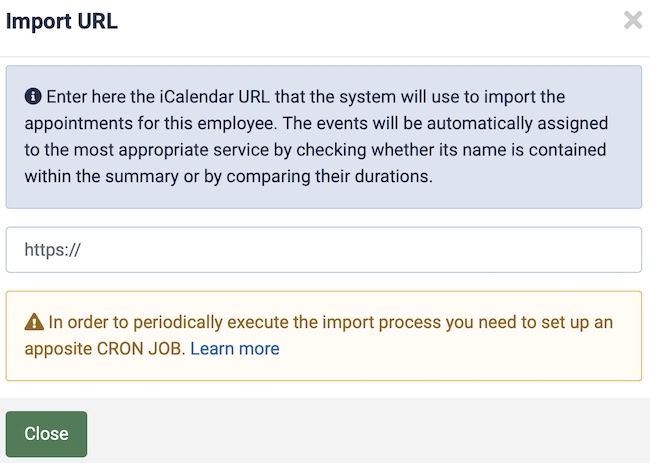
From the management page of an employee, under the Calendar section, it is possible to click the "Edit" button to specify an import URL for the calendar (first solution).
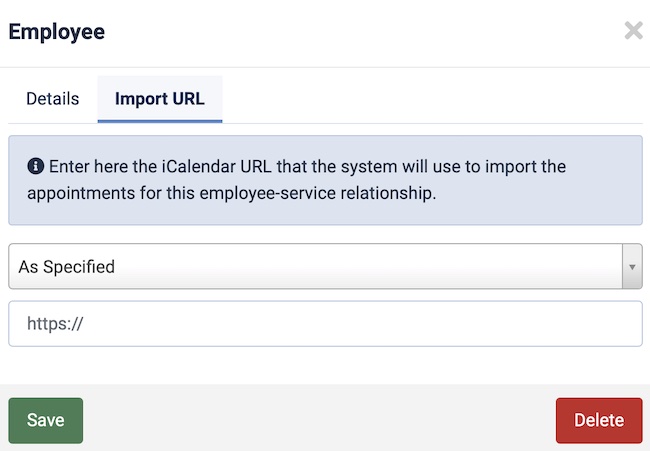
If you wish to specify an import URL for a given employee-service relationship, you need to open the management page of a service, access the Assignments tab and edit an employee. Here you should be able to see an apposite section to enter the import URL.
Cron Job Setup
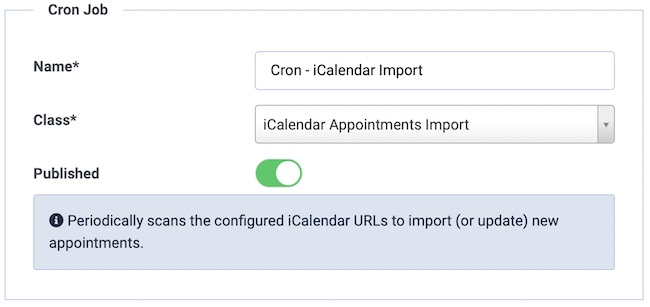
Once the configuration has been completed, it is needed to set up an apposite CRON JOB of type "iCalendar Appointments Import". This way, the system will periodically scan all your calendars in search of new events to import or existing events to update.
- Visit the Configuration > CRON Jobs page
- Click the See Cron Jobs List button
- Click the New button from the toolbar
- Enter a descriptive name
- Select "iCalendar Appointments Import" under the Class dropdown
- Publish the cron job and save the changes
At this point, you can go back to the Configuration > CRON Jobs page and access the Installation tab. You should follow the instructions listed there in order to set up a task that will be periodically executed by the server. The instructions may vary depending on your Joomla! version.