Zapier
What is Zapier?
Zapier is an online automation tool that connects your apps and services. You can connect two or more apps to automate repetitive tasks without coding or relying on developers to build the integration. The whole process is made up of 2 parts: a trigger and an action. Think of a trigger as an event telling when to begin doing something. Every time the event related to the configured trigger occurs, the assigned action will be dispatched.
Preamble
As you might already know, Google Calendar can take up to 24 hours before refreshing your ICS subscriptions.
In this example we will take advantage of the Zapier services to bypass this limitation. Therefore, WHEN a new appointment is confirmed or paid, THEN create a new event on Google Calendar. This is how our integration will work.
Trigger Setup
The first thing to do is registering an account on Zapier.com. One of the types of used trigger should be available only to Premium accounts. New accounts should have some days to test all the Premium features.
After completing the registration, click the Create Zap button from your dashboard.
Now you can optionally change the name of your Zap into something more descriptive.
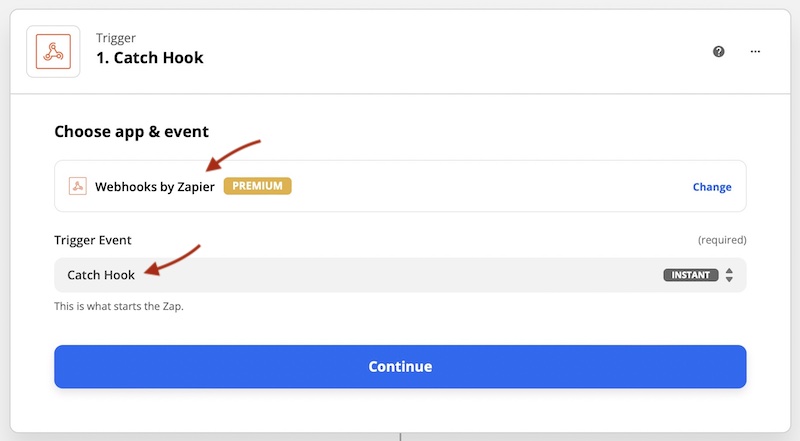
Then move to the configuration of the Trigger and follow the steps below:
- pick the Webhooks by Zapier option under the Choose app & event parameter;
- select the Catch Hook option from the Trigger Event parameter;
- click the Continue button.
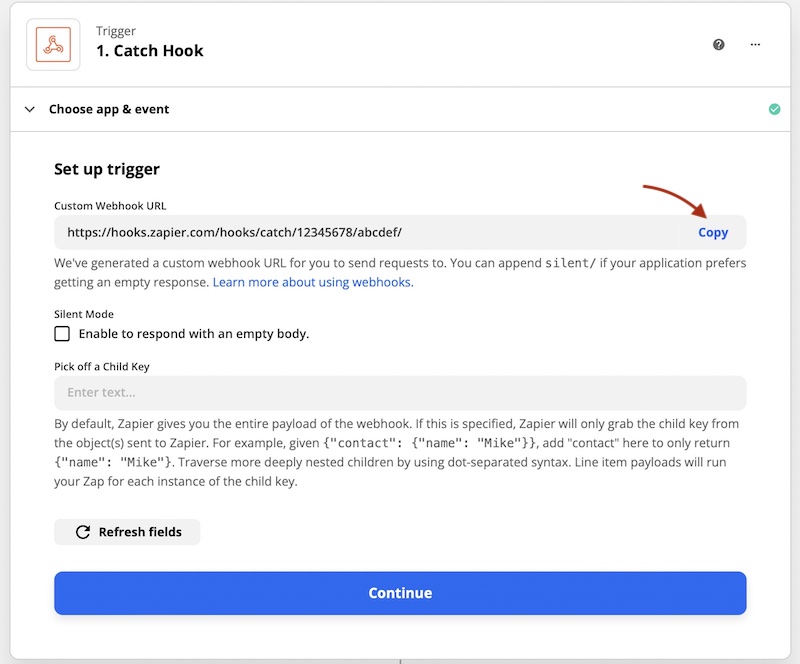
Copy the Custom Webhook URL and hit the Continue button.
Now you should open the website in which you installed VikAppointments and create the webhook that will inform Zapier every time an appointment gets confirmed. Here's the list of steps to follow:
- visit the Configuration > Applications page;
- access the Web Hooks section;
- click the Manage Web Hooks button;
- hit the New button from the toolbar;
- enter a descriptive name;
- pick the Appointments - Status Change from the Action parameter;
- paste the URL previously copied;
- publish the webhook;
- select the statuses to observe (Confirmed and Paid by default);
- switch the loading mode to Extended;
- save the changes.
At this point you should create a new appointment from the back-end to trigger the webhook. Make sure that the selected status is observed by the created webhook. Once the appointment has been created, go back to Zapier and click the Test trigger button.
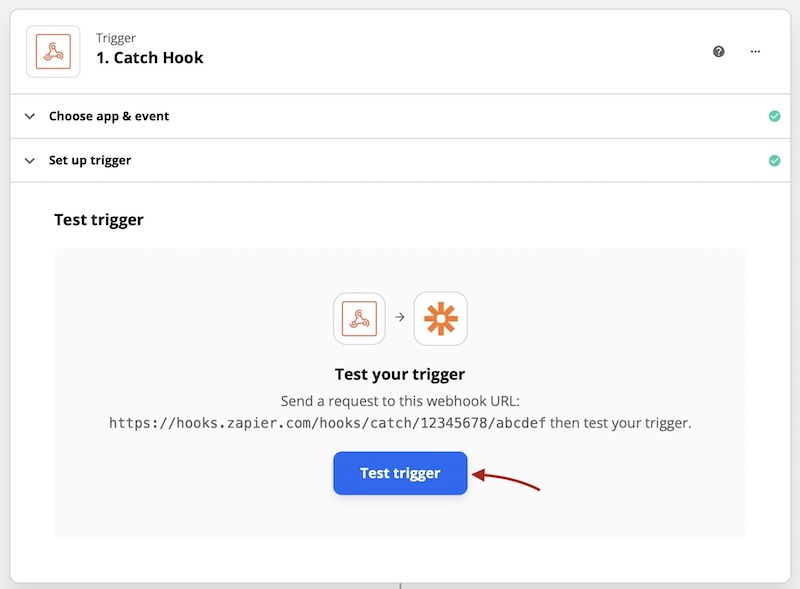
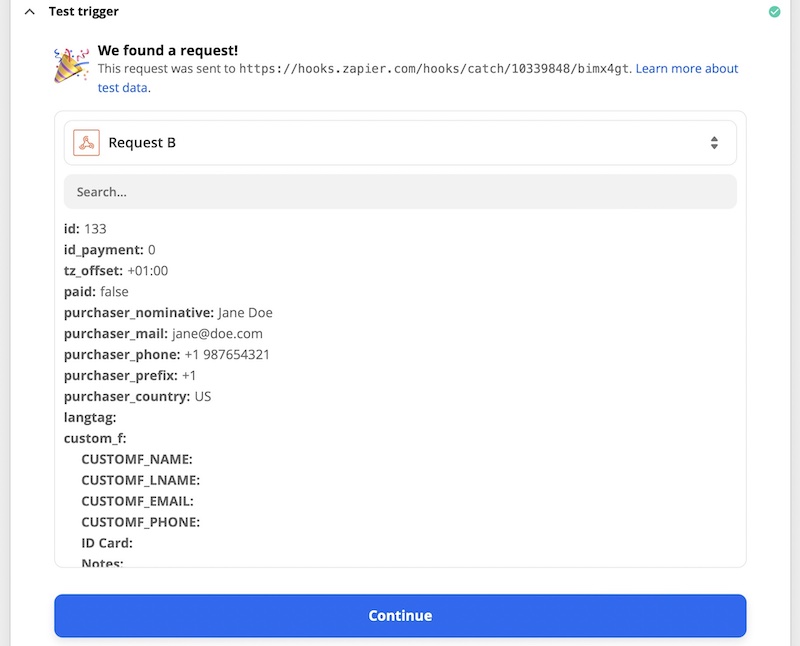
If you properly followed all the steps, you should see a successful message and a list of arguments extracted from the POST data sent by the webhook created through VikAppointments. Click the Continue button to complete the configuration of the trigger.
Action Setup
Follow these steps to start the configuration of the action:
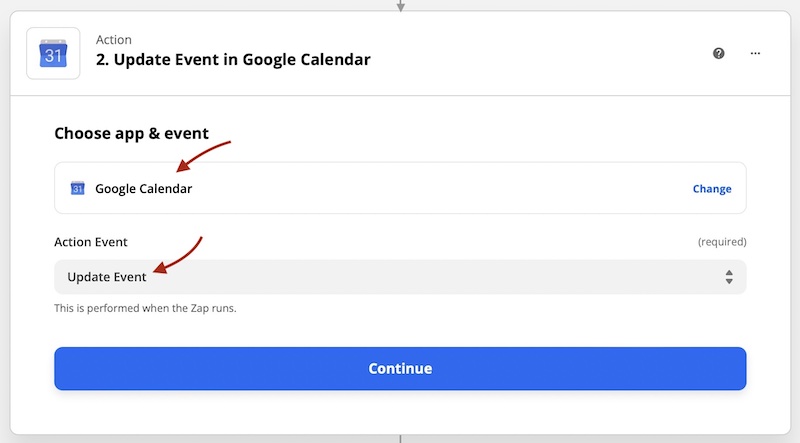
- pick the Google Calendar option from the Choose app & event parameter;
- select the Create Detailed Event option from the Action Event parameter;
- click the Continue button.
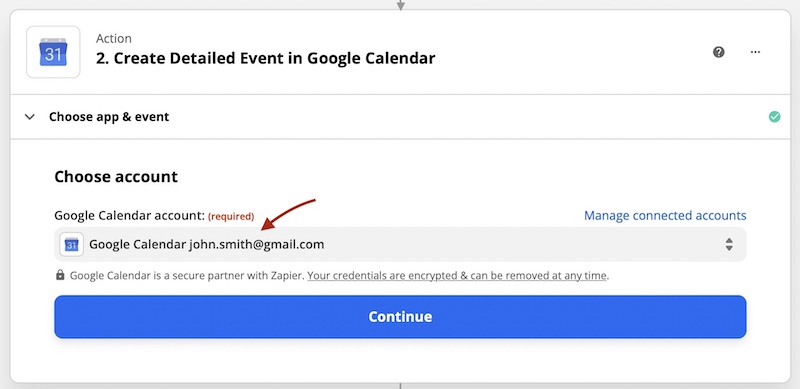
Now you need to log in by using your Google Account and go ahead by clicking the Continue button.
Pick the correct calendar in which you wish to push your appointments. The available calendars will be fetched from your Google account.
Set up the Summary text to show within the event. It is recommended to display the booked service and the customer name/mail.
Optionally enter within the Description field all the information you need to see when opening the details of the event from Google Calendar.
If you configured the locations for your employees and services, you can set up the Location parameter too.
Move on and fill the Start Date & Time and the End Date & Time parameters.
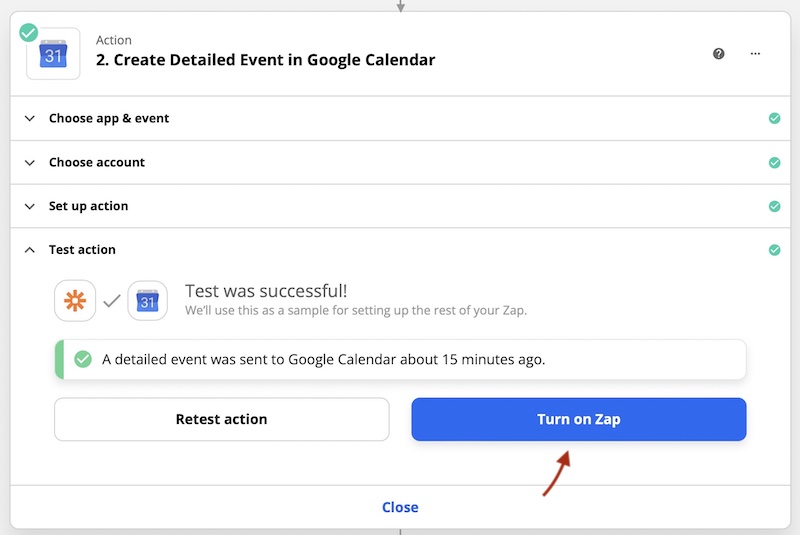
Proceed with the configuration and make sure the event has been properly created. You can finally click the Turn on Zap button to publish this integration.
