Your cart is empty!
Template Multirent Documentation
Template Multirent
Multirent template documentation
(based on VikRentItems extension)
Installation
Template installation
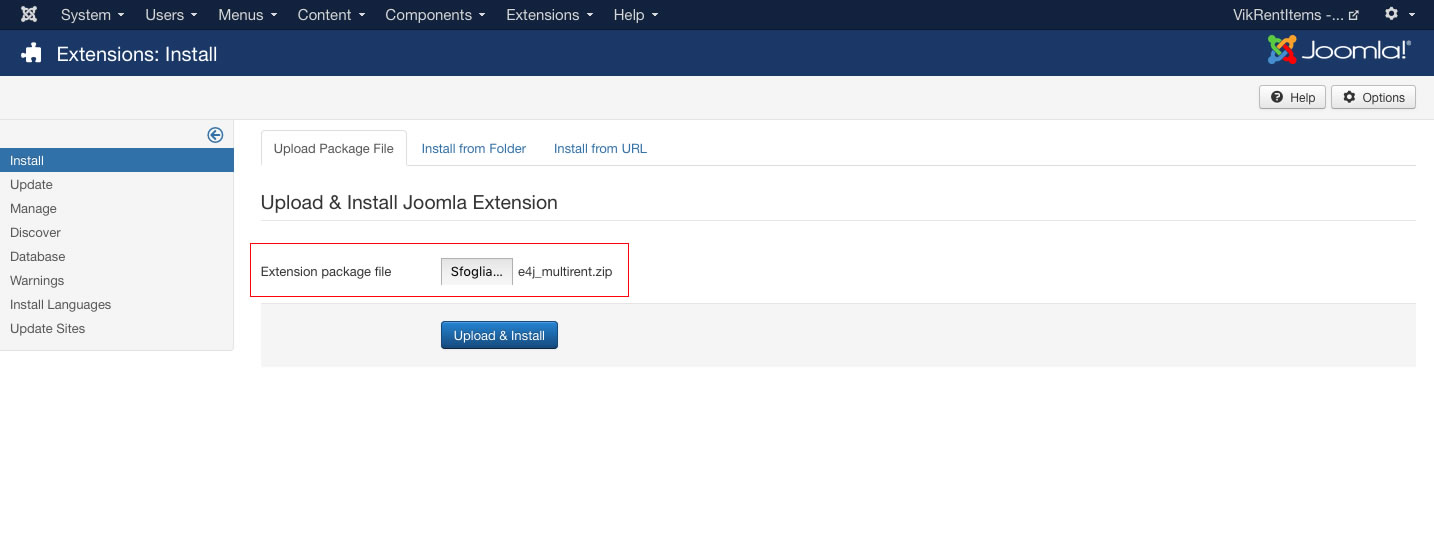
Step 1 - Install E4J Multirent template
After unziped the .zip file, from your back-end setting panel, go to: "Extensions → Extension Manager", browse E4J Multirent installation package of your Joomla version then hit the "Upload and Install"
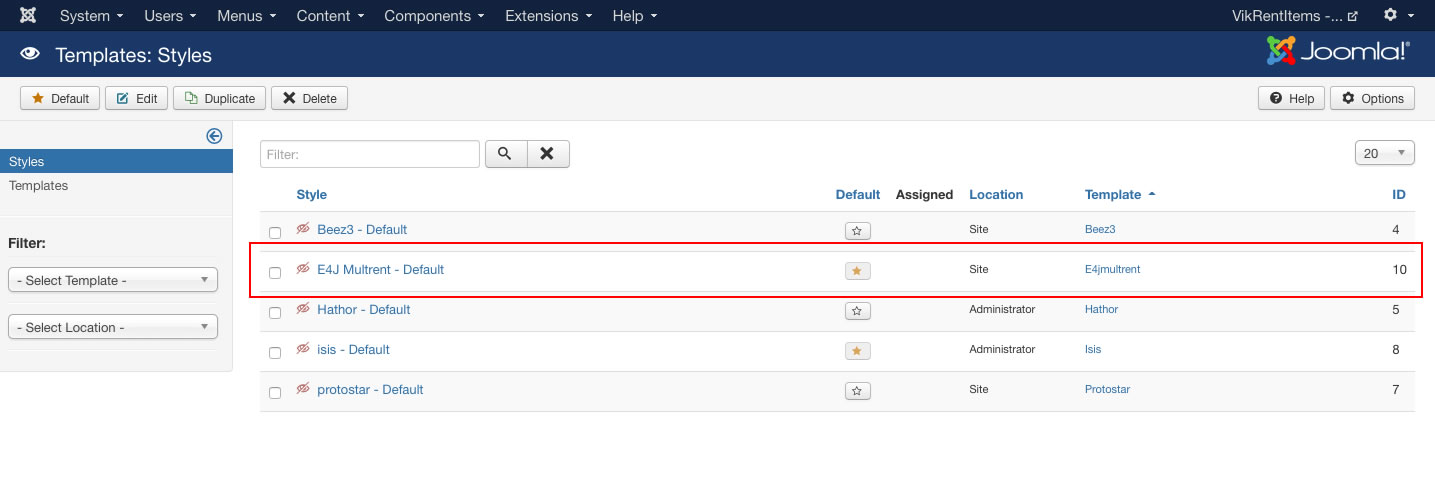
Step 2 - Set default template style
Go to: "Extensions → Template Manager", set E4J BoxOffice template style as your default template style.
Install all the modules
Here the list of all the modules that we used in the our demo website :
Vik Rent Items - Items (you can find it in the VikRentItems Extension)
Vik Rent Items - Search (you can find it in the VikRentItems Extension)
Vik Rent Items - Summary (you can find it in the VikRentItems Extension)
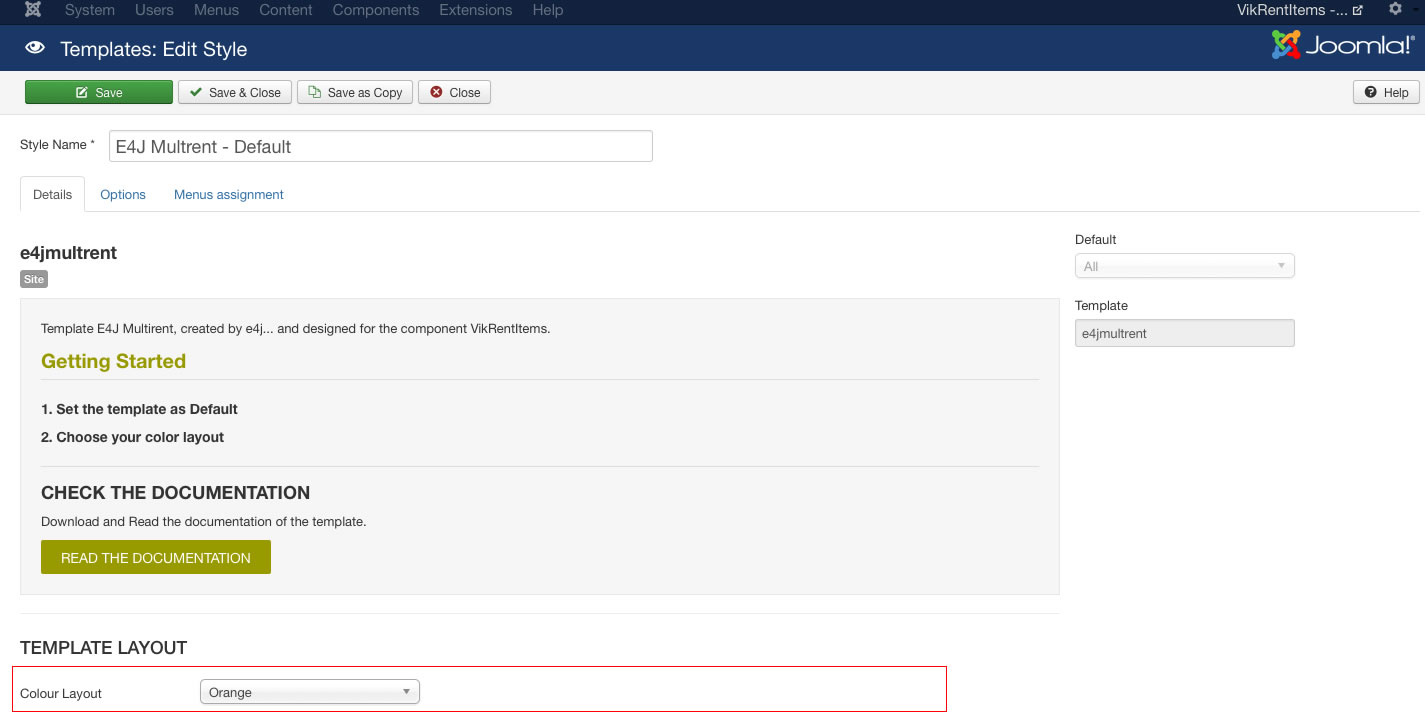
Template settings
In this page you can choose the color variation your prefer for your website.
Extensions -> Template Manager -> E4J Multirent
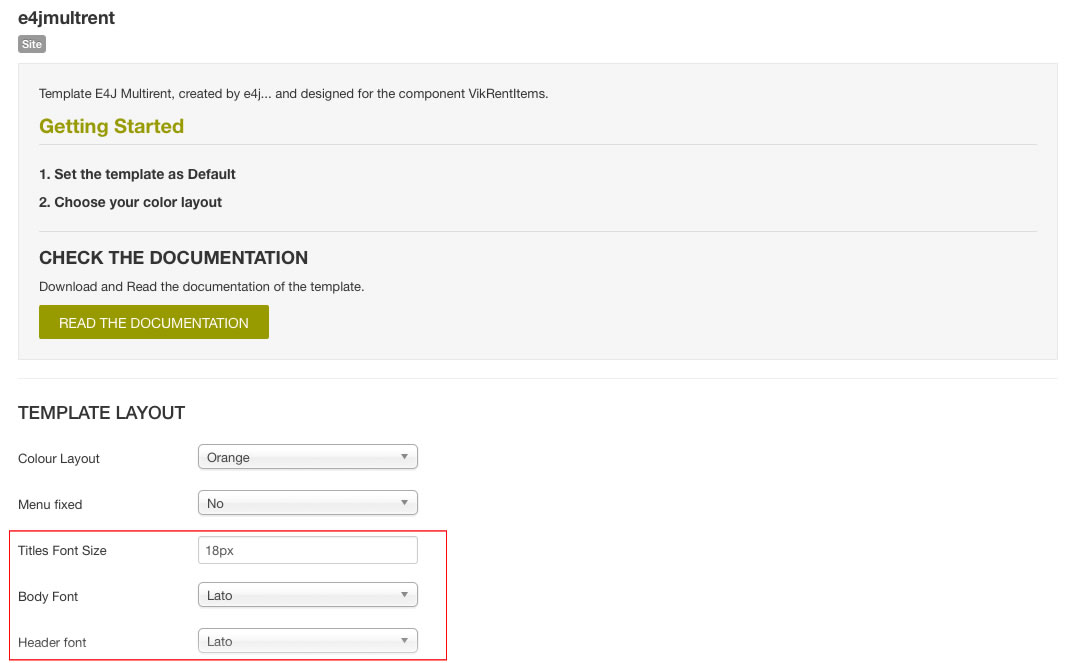
Template Fonts
You can choose different fonts and size for the website’s body and headers.
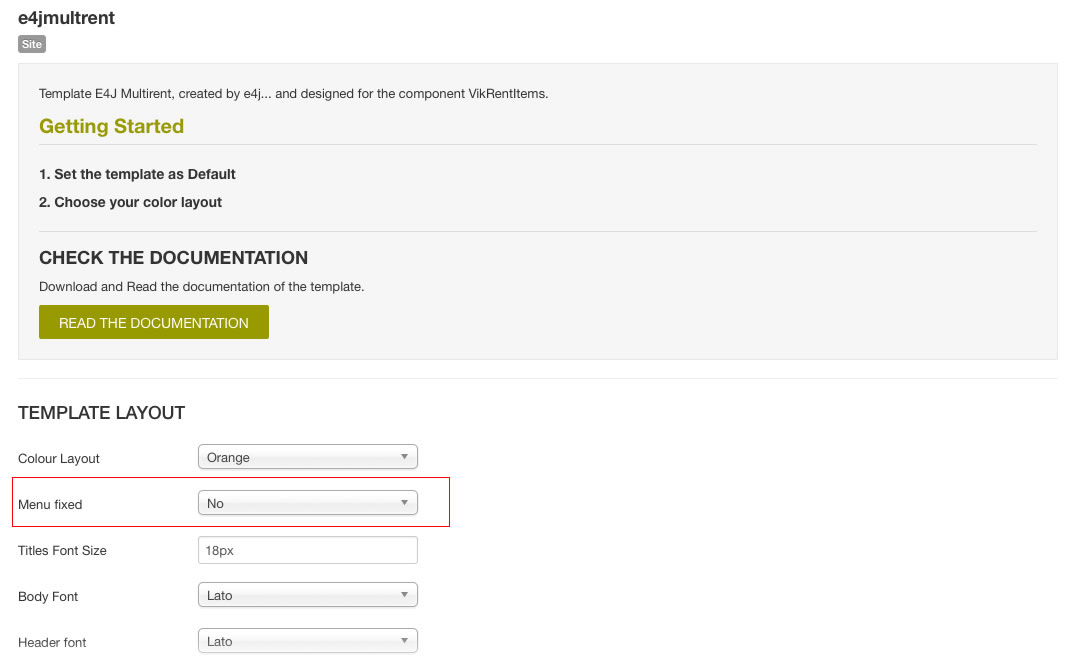
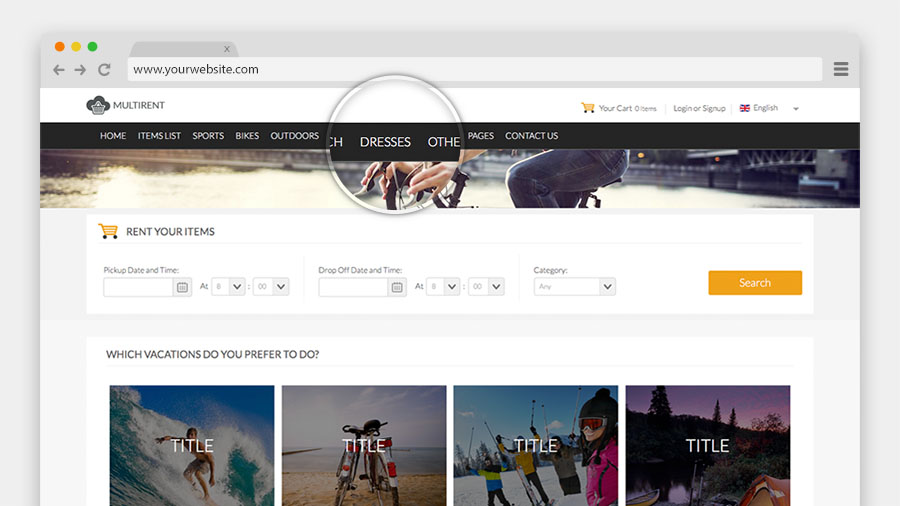
This parameter allow your header to stay up to the website when you are scrolling this one.
This is a preview:
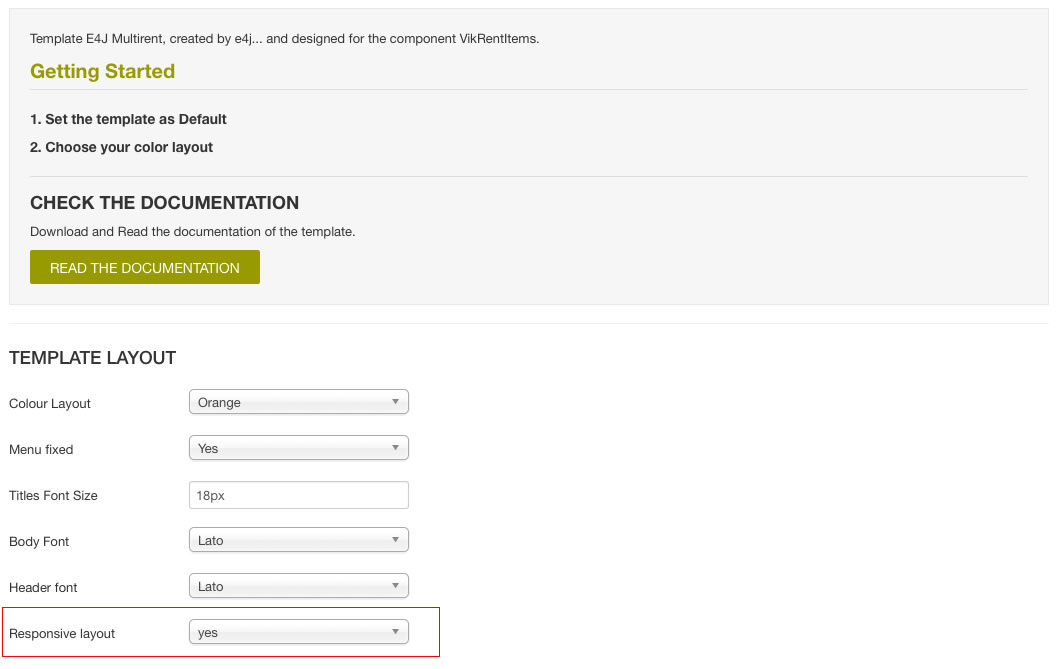
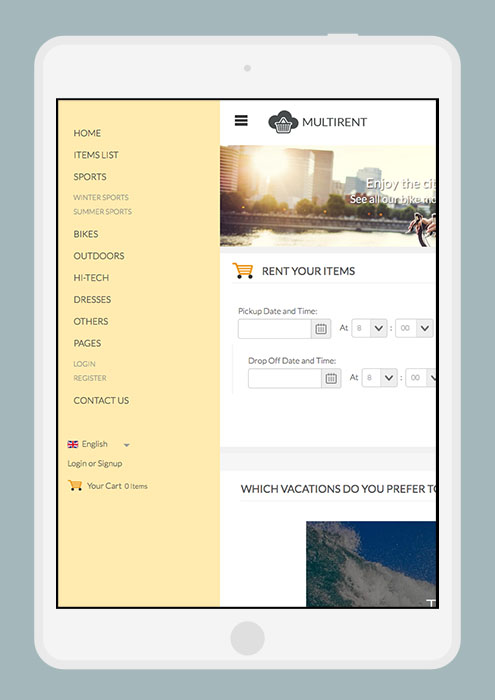
Responsive layout for all the devices
You can chose if make your website compatible with all the devices with this parameter.
This is a preview:
Set up your logo
The Logo is actually a simple image element. In Joomla we are using a Custom HTML module published on the template logo position for it to display.
Go to Extensions » Modules Manager. Click on New. Select a Custom HTML module.
And fill the Textarea field with your image. After publishing the module, the logo will display in the template.
Set up your Joomla Main Menu
Create the menu
After installation of the template click on Menus » Menu Manager Menu » Add New Menu in the administration menu on top. Give it a name and click on Save & Close.
You can now assign menu items to the menu. Click on Menus » YOUR MENU » Add New Menu Item.
Assign the menu
Before the menu works properly in your template, you have to assign it to a menu module published on the mainmenu module position. To achieve this, click on Extensions » Module Manager » New. Choose Menu. Next publish the module on the mainmenu position of the template.

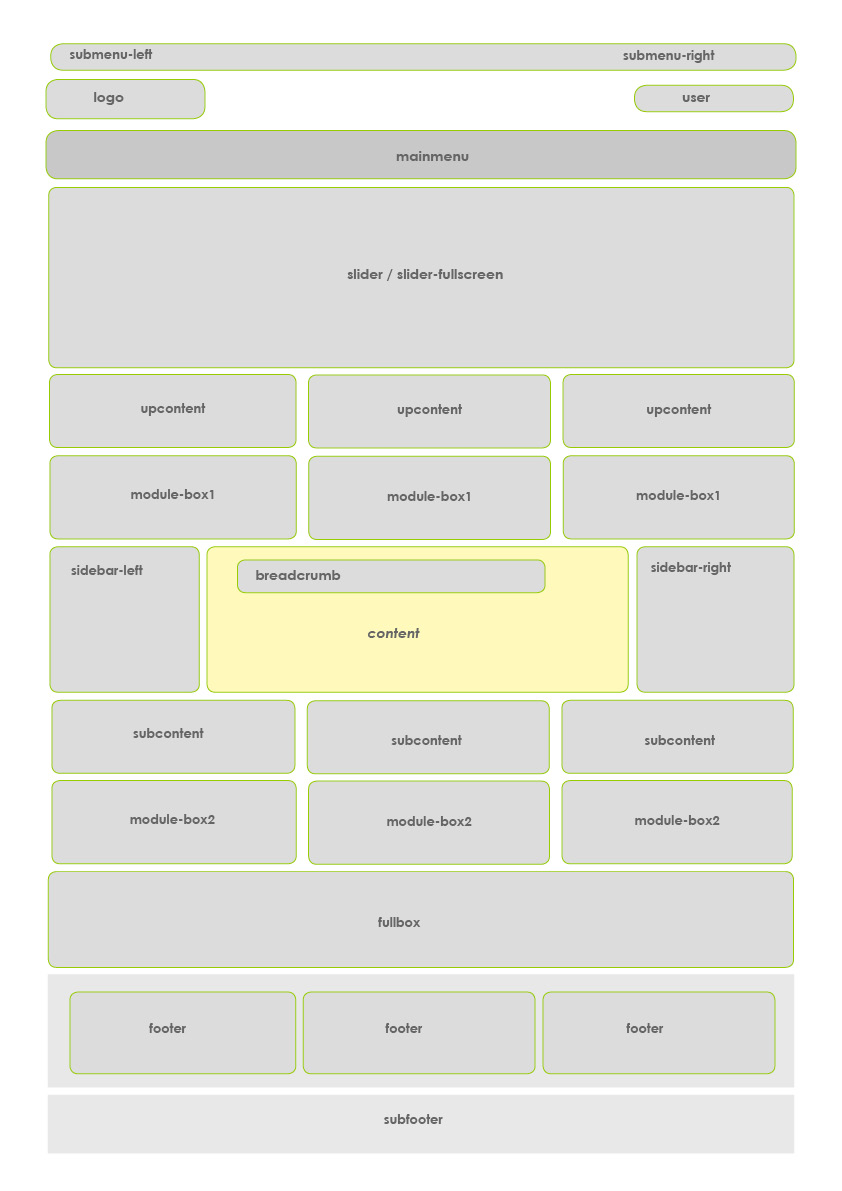
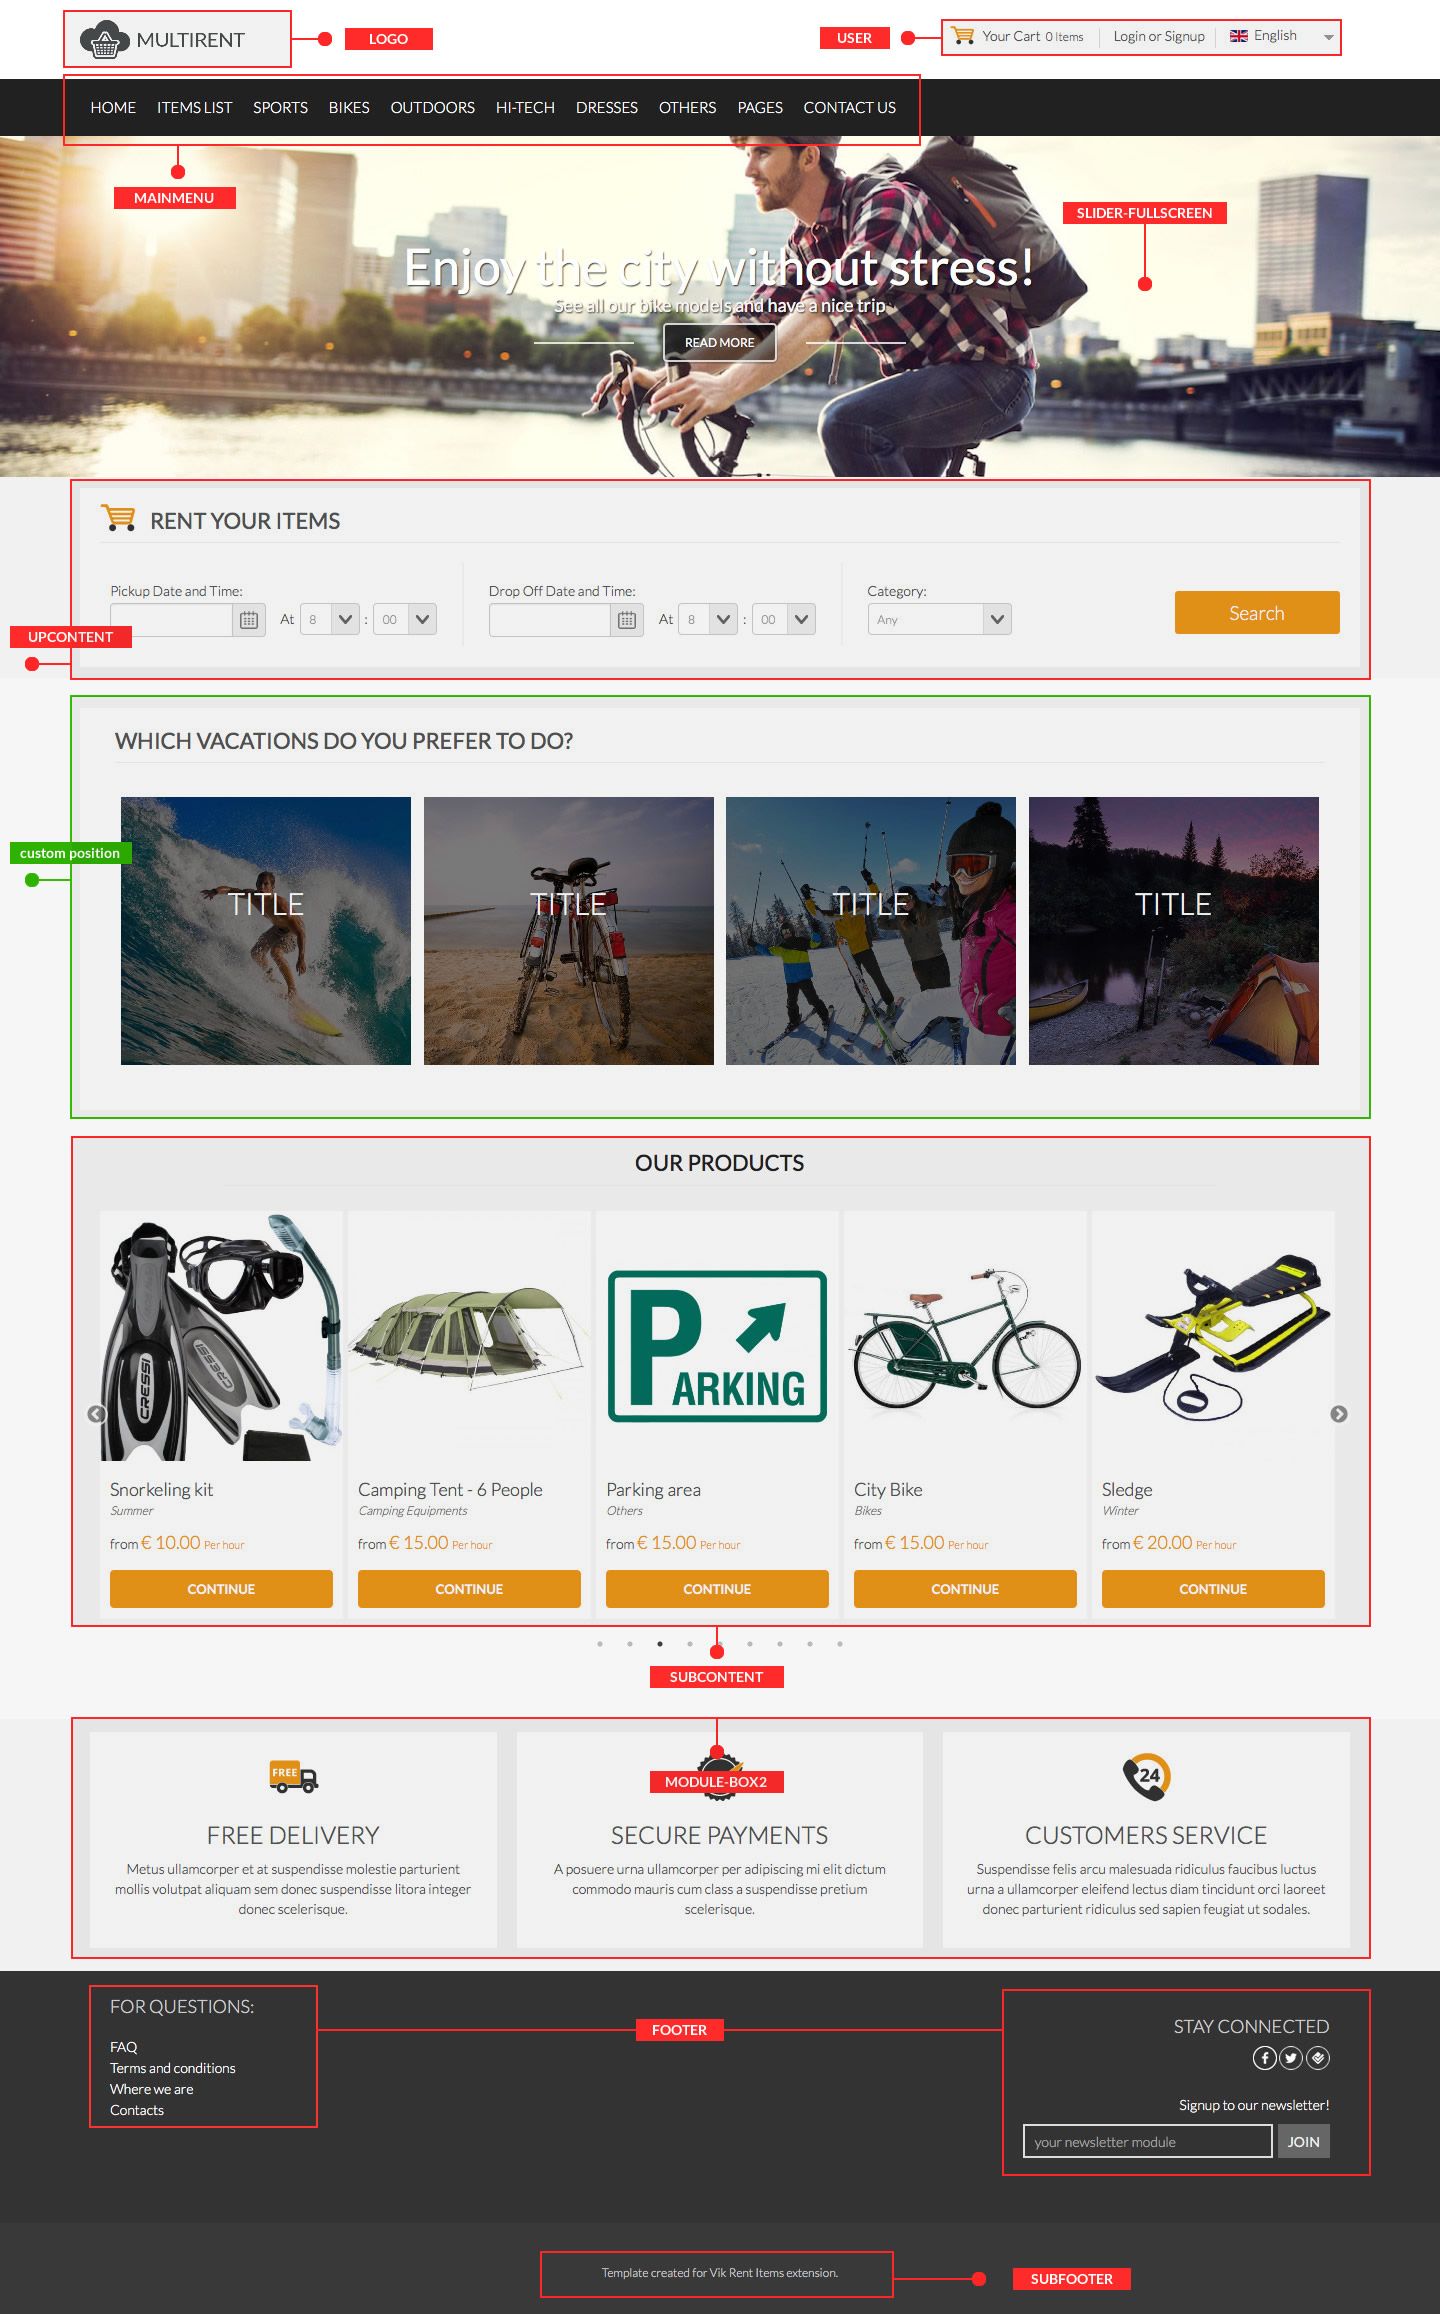
Modules configuration
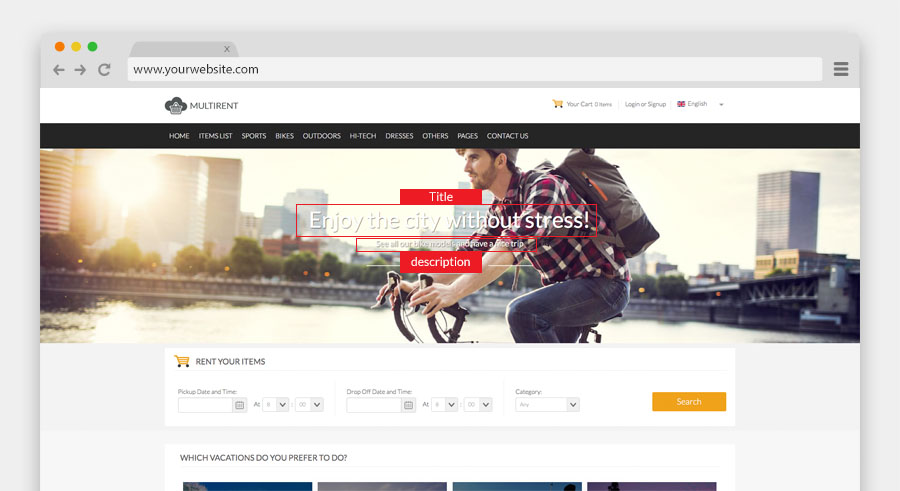
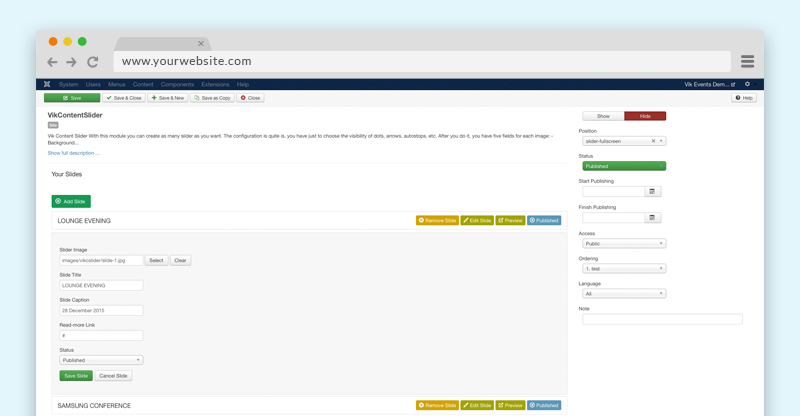
Setup the slider module
With this module you can create as many slider as you want through the "Add slide" button. The configuration is quite simple, you should just to choose the visibility of dots, arrows, autostop, etc.
Once you have done it, you have five fields for each image:
Module-position: slider-fullscreen
- Background image This field allow you to choose the images
- Title slide In this field you can write the title of your slide
- Text This is the field for the description of your slide
- Read More link In this field you may to insert a link for your slide
ADMIN SIDE:
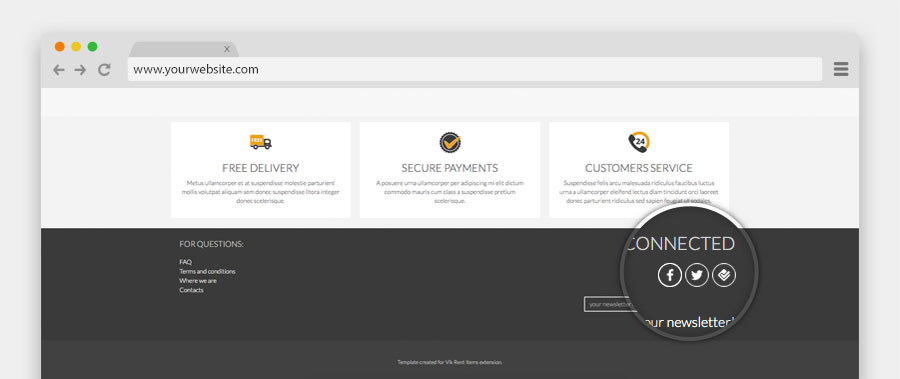
Vik Social Icons
With this module you can easily use all the most famous social networks just putting your social link in the Link parameter of this module.
Vik Rent Items - Items
This module will show all the items of your shop, you can decide how many items do you want to show in the first screen and how do you want to scroll them.
- Item displayed - Number of items that you want to want in your screen
- Item scrolled - Number of items that you want to want to scroll
- Speed scrolling - Speed of your scrolling items
- Image width - You can decide which width can have your image, the height is calculated automatically
- Height box items - The height of your elements, you can give more or less space based on how much information you want to display
- Total Elements - Total number of all your items displayed in this module

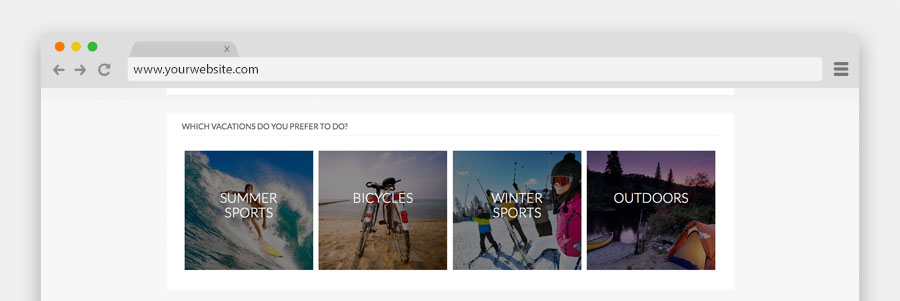
Vik Thumbnails
With this module you can have a set of thumbails with title and description showed on hover, you can choose 15 kind of hover effects.
To suit properly this module needs that your images have a square shape, we usually suggest 500x500px width.
Module-position: hp-position
In the case of our demo we used a custom position and we load this module in an article just writing the code in the body of our article.
What is the {loadposition} code?
This code allows you to publish all the modules in a particular position, to have more details about it here the official guide.
If you don't see your module pubblished please make sure that you enabled the loadposition plugin, in this way:
- Go to Extensions > Plugin Manager
- Use the filter to find Content - Load Modules.
- Check that Status shows a green check. If it's a red circle, click it and it will turn green.
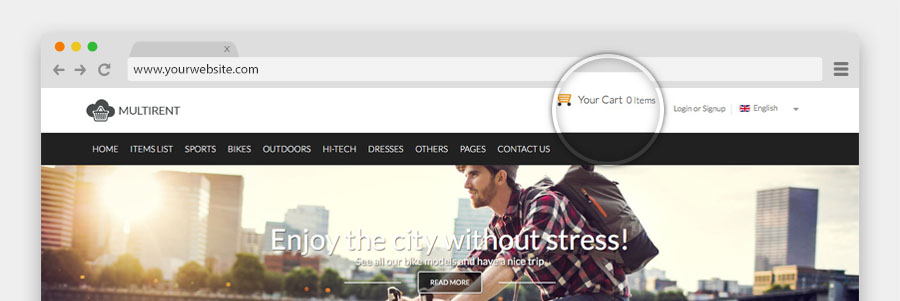
Vik Rent Items - Summary
This is the Vik Rent Items module, you can find it in the extension package, it's mod_vikrentitems_summary.zip.
To have the view of our demo website, you have to choose in the module parameters Module Layout > default-cart view.
Module-position: user
Vik Rent Items - Search
This is the Vik Rent Items module, you can find it in the extension package, it's mod_vikrentitems_search.zip.
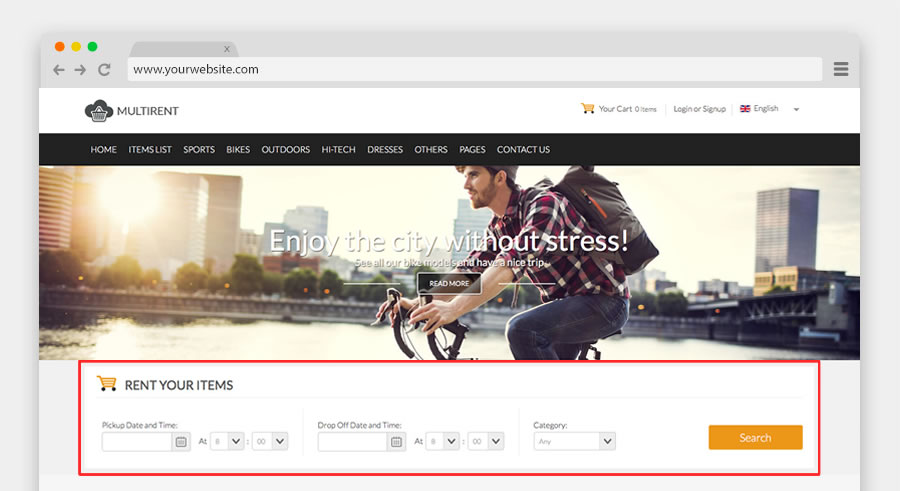
To have the view of our demo website, you have to add the following class suffix:
Module-position: upcontent
Class-suffix: hor-search cart-icon (please leave a white space before start to write - for more information how to do it, just look the next chapter)
Class-suffix: hor-search cart-icon (please leave a white space before start to write - for more information how to do it, just look the next chapter)
Other modules
Login module
As you can see in our demo website, we used a particular login display, to have this kind of layout, please, follow this instructions:
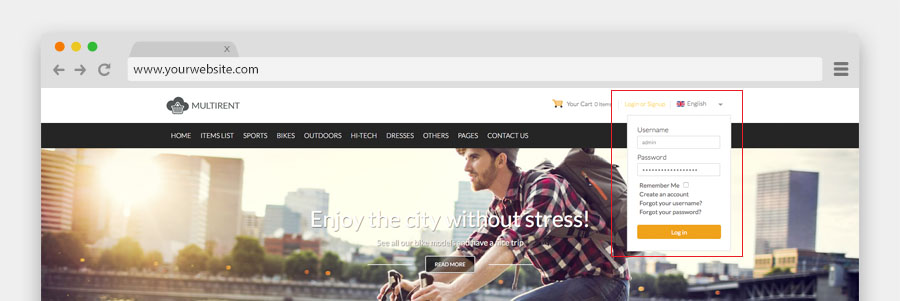
We used the Basic login module of Joomla.
Go to Extensions » Modules Manager. Click on New. Select a Login module
Module-position: user
Class-suffix: loginmenu (please leave a white space before start to write - for more information how to do it, just look the next chapter)
Class-suffix: loginmenu (please leave a white space before start to write - for more information how to do it, just look the next chapter)
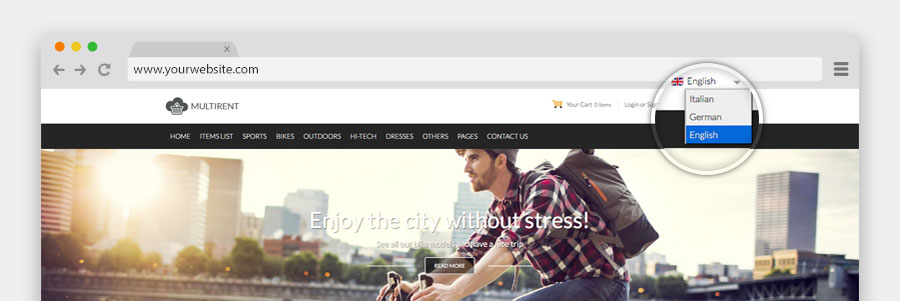
Languages switcher module
To have a multilanguage website you can use the native language manager of Joomla, in our demo website we used the Languages switcher module.
Go to Extensions » Modules Manager. Click on New. Select a Languages switcher
With this module you can choose if you want a dropdown list of your languages or just the little flags listed, we used the dropdown display:
Module-position: user
Class-suffix: langtab (please leave a white space before start to write - for more information how to do it, just look the next chapter)
Class-suffix: langtab (please leave a white space before start to write - for more information how to do it, just look the next chapter)
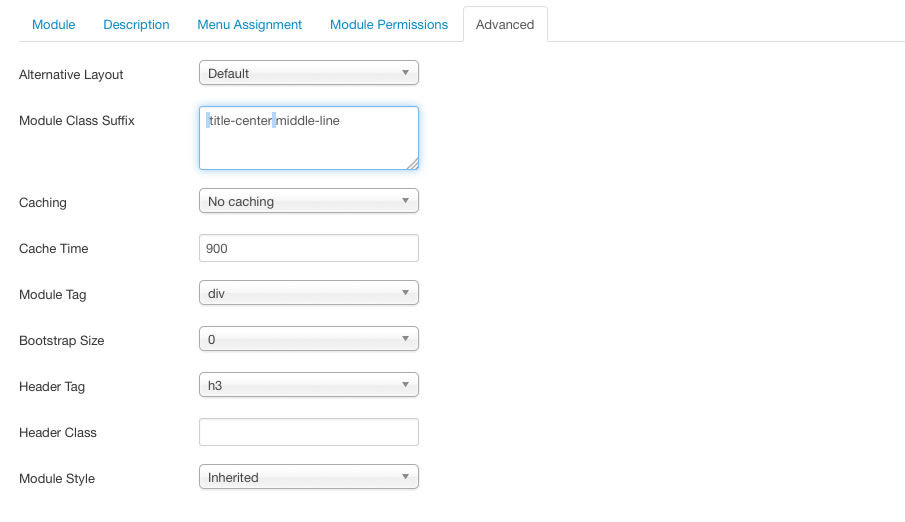
To see how we setup this module in the Back-end: Page 1 Page 2
Module variations
To customize your website you can use the class suffix for different modules, all the class suffix need to be written with a white space just before, in this way:

you can also use more than one class suffix, in the case that you want mix two kind of layout, an example a centered title with borders (you can read about those class just below), in the case that you want mix both the class you always need to leave a white space between them, in this way:
Here the list of the class suffix that you can use with this template, beside you can see their example:
1. Grey Background
With this class suffix you can have a grey background instead of the default white one.
Class-suffix: grey
2. Title Center
With this class suffix you can have the title of your module centered.
Class-suffix: title-center

3. Background transparent
As you can see, in our demo website the Our products module has something different from the others, this is why it has a transparent background instead of the default one, to have this kind of module, use the following class.
Class-suffix: bg-transp
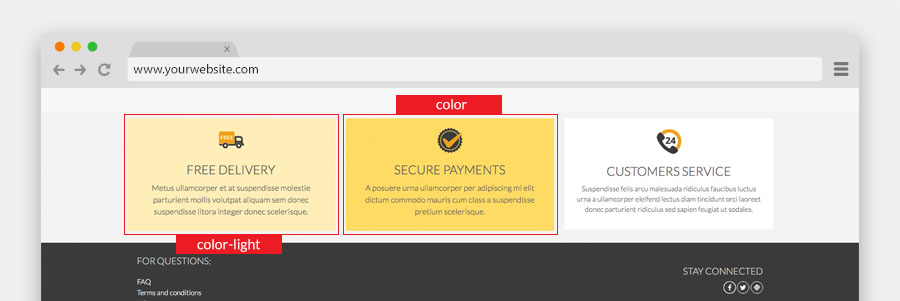
4. Color module background
With these two class suffix you can have two different colors background, this color depends by the Template layout that you chose.
Class-suffix: color
Class-suffix: color-light
Class-suffix: color-light
5. Footer inline
With this class suffix you'll have yours item menu footer in the same line instead in the classical list view.
Class-suffix: inline
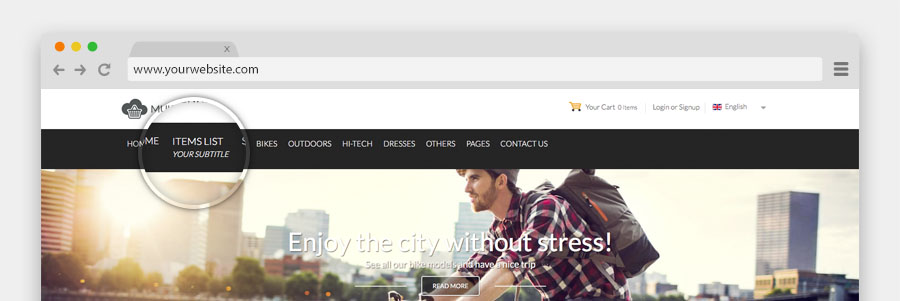
Menu subtitle
To add an item menu subtitle you need to follow this steps:
1. Open the item menu where you want to add your subtitle. Example
2. add two pipes between the first part of your Menu title and the part that you want to be your subtitle. Example
3. Save you item menu
Here it's the Front-end example:
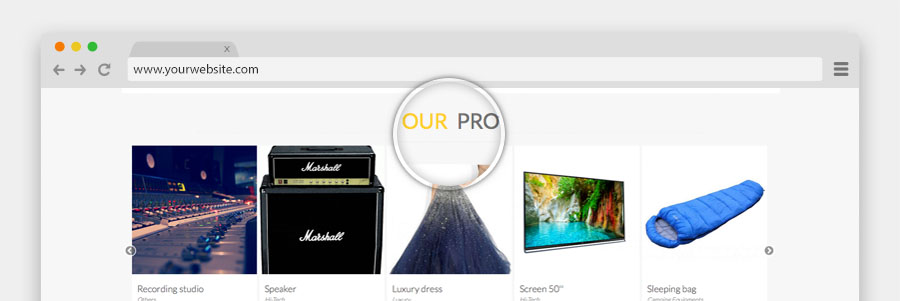
Title module double color
To have the title module with two colors, like our demo website, you should use a procedure really similar to the subtitle menu, you have to use two pipes between the two title parts Backend example.
Here the Frontend example:
CSS Customizations
From the 1.3 template version has been added the custom.css file to place all your CSS customization. It is recommended to add all your modifications on this file, in this way you'll never lose them, this file will be not overridden in the future template updates.
You can find the file in the panel Extensions > Templates > Templates > e4jMultirent Files and Details > css > custom.css
General troubleshooting
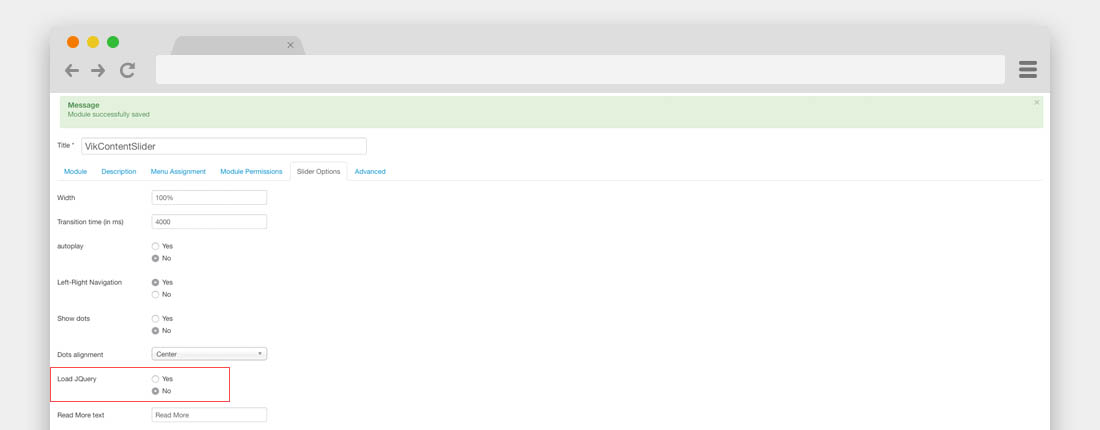
jQuery Conflicts
Sometimes happens, when you'd installed all the modules, that the VikRentItems Calendar is not working or that the slider has some problems, an example, shows your images one just after the other in one vertical line.
In this case your website has a jQuery Conflicts, it means that too many extensions are loading the jQuery library, to solve this problem you have to disable all the Load jQuery parameters in all the Vik Extensions that are enabled and from the Slider modules either.